

Homebuying Tips ·
Under Contract? Your Step-by-Step Home Inspection Guide

Mack Humphrey, CMPS
Certified Mortgage Planning Specialist · NMLS #1110618
Getting an offer accepted feels great. Then comes the home inspection—and often a long report filled with photos, warnings, and unfamiliar terms.
I tell buyers around Denver and Aurora that the goal is not to find a perfect house. It is to understand the house you are buying while you still have time to make informed decisions under your contract.
As your mortgage planning specialist, I help connect those decisions to your financing. Your real estate agent, inspector, and any needed specialists each have a different role. Here is how I recommend moving through this stage without letting the report overwhelm you.
Step 1: Put Your Contract Deadlines on the Calendar
Before you book an inspector, ask your agent to explain the inspection provisions in your signed contract. Do not assume you have a standard amount of time or that scheduling an inspection protects your rights by itself.
Depending on your contract, there may be separate deadlines for raising objections, reaching an agreement, or terminating based on inspection findings. Those are different actions, and the required notices matter.
Ask your agent:
- When must the inspection and any follow-up evaluations be completed?
- What deadline applies if I want to request a repair or other resolution?
- What happens if the seller and I cannot agree?
- Who will prepare and deliver any required notice?
Schedule the inspection early enough to leave room for specialist visits and estimates. A report delivered just before a deadline can leave you making a major decision with incomplete information.
Keep the deadlines in your own calendar, too. Your agent can explain the process; a qualified real estate attorney can advise you on legal rights or contract language that concerns you.
Step 2: Hire the Right Inspector—and Define the Scope
A general home inspection is usually a visual review of accessible parts of the property and its major systems. It is not a warranty, and it cannot reveal everything hidden behind walls, beneath flooring, or underground.
Before hiring someone, ask about their training, experience with similar homes, professional credentials, and insurance. Request a sample report. You want clear descriptions, useful photos, and an explanation of why each finding matters—not just a checklist.
Also ask what is excluded. A general inspection may not include a sewer camera inspection, radon testing, chimney evaluation, or a detailed assessment of suspected structural movement.
For Denver-area buyers, I suggest discussing these possible add-ons with the inspector and agent:
- Radon testing: Colorado buyers should consider testing rather than assuming a neighborhood or home style tells the whole story.
- Sewer scope: Older sewer lines, large trees, and signs of drainage trouble can make a camera inspection especially useful.
- Structural evaluation: Significant cracks, uneven floors, or signs of movement may warrant a structural engineer’s review.
- Specialized system checks: Unusual heating equipment, private wells, or septic systems may need separate expertise.
Not every home needs every service. Match the inspection scope to the property, its disclosures, and the questions you need answered. Confirm access and scheduling with the seller through your agent.
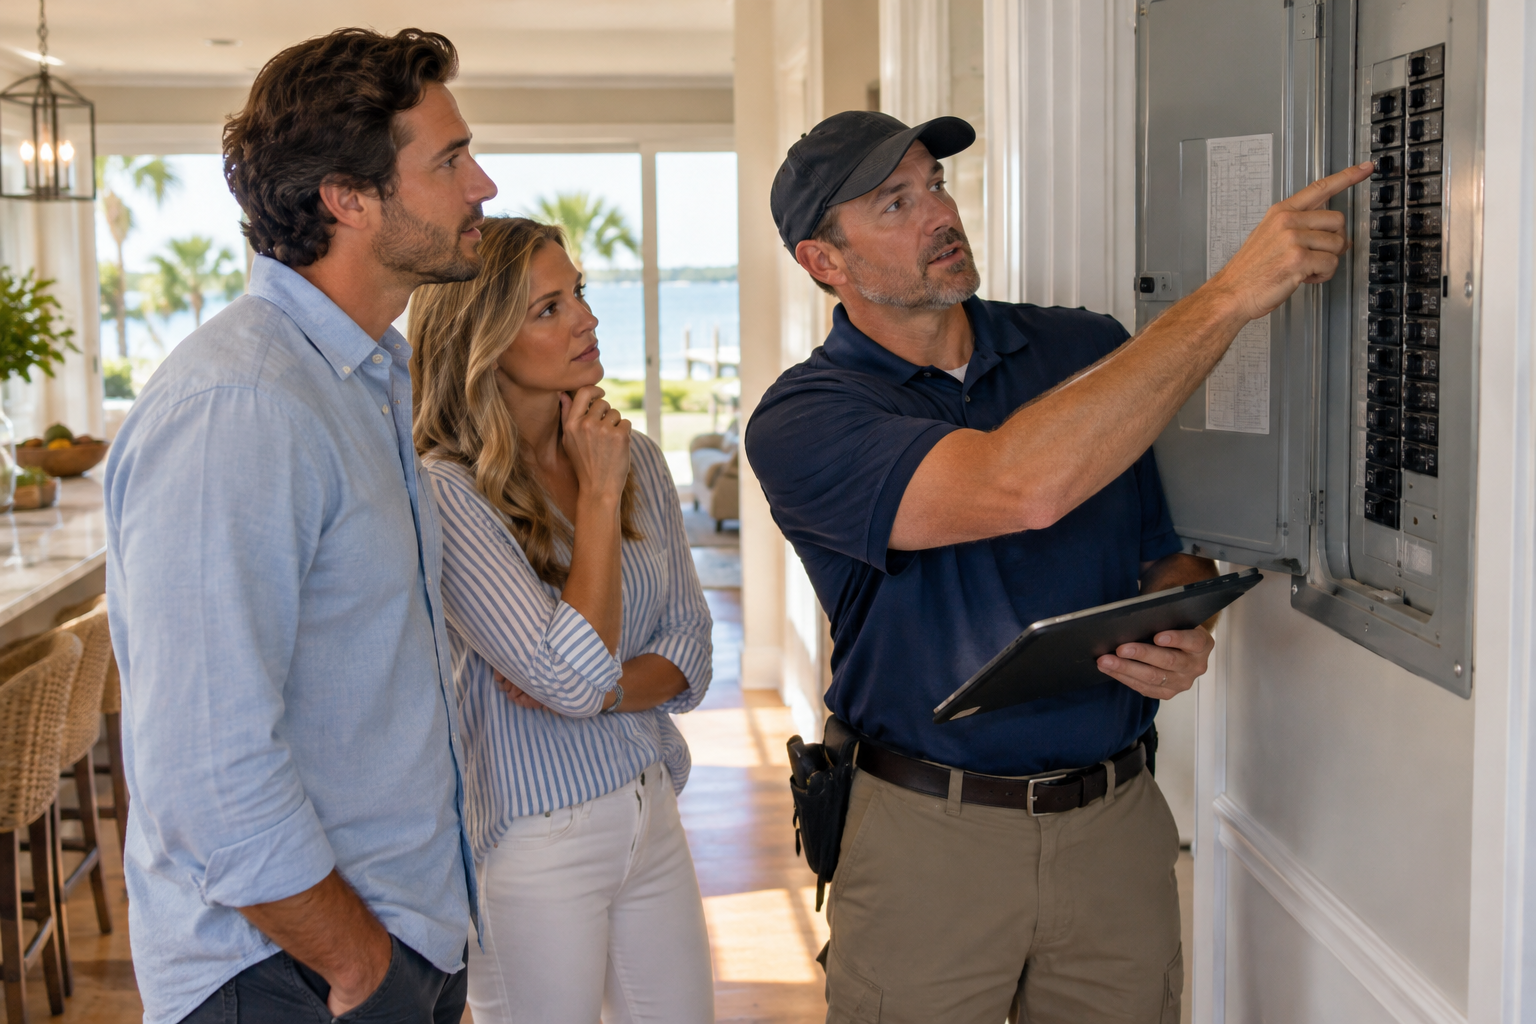
Step 3: Attend the Inspection Debrief and Ask Better Questions
If possible, attend the inspection or at least the inspector’s final walkthrough. Ask the inspector beforehand how they prefer to handle buyer questions so you are not interrupting tests or distracting them from their work.
This is your chance to learn how the home operates. Ask where the main water shutoff is, how to change the heating system’s filter, and which findings need prompt attention.
The most useful questions go beyond, “Is that bad?” Try these:
- What did you observe, and what could it indicate?
- Is this a safety issue, an active failure, or routine maintenance?
- What could you not inspect, and why?
- Should a specialist evaluate this before my deadline?
- What information would help determine the next step?
Be careful with guesses about remaining equipment life. An older furnace may still work, while a newer one may have installation problems. Age provides context; condition and professional evaluation tell you more.
If an area is blocked, utilities are off, or weather prevents a meaningful assessment, ask how that limitation can be addressed. “Not inspected” is not the same as “no problems found.”
Step 4: Turn the Report Into a Short Decision List
A lengthy report does not automatically mean you should walk away. Inspectors document small maintenance items alongside potentially serious defects. The number of pages matters far less than the nature of the findings.
I suggest sorting the report into three groups:
- Understand before proceeding: Potential structural issues, significant moisture intrusion, unsafe electrical conditions, or other findings that need further evaluation.
- Consider addressing with the seller: Confirmed defects that materially affect the home’s condition or your ability to take ownership comfortably.
- Plan for after purchase: Routine upkeep, minor adjustments, and cosmetic items you are comfortable accepting.
Keep the focus on facts. A stain on a ceiling might reflect an old, repaired leak—or an active problem. The next step is to investigate, not assume either outcome.
When a specialist is recommended, get that evaluation while your contractual options are still available. Written findings and estimates can help you understand the scope of the issue and discuss a specific response with your agent.
A repair estimate is useful, but it is not always a final price. Ask whether it includes permits, related damage, and any additional work that may become necessary once repairs begin.
Step 5: Resolve Concerns Without Creating a Financing Surprise
Once you understand the findings, work with your agent on a focused request. Depending on the contract and circumstances, you might request repairs, discuss a price adjustment or seller credit, accept the condition, or consider ending the transaction under an available contract provision.
Call me before agreeing to a financial concession or repair arrangement. Seller credits are subject to loan program rules and generally cannot exceed eligible costs. They are not simply cash you can receive at closing for future repairs.
A price reduction works differently: it changes the purchase price but may not leave you with enough additional cash to fix the problem after closing. If repairs affect property eligibility or must be completed before funding, we need to know early.
For seller-completed work, ask your agent to document the scope, completion timing, appropriate contractor qualifications, and how the work will be verified. “Fix plumbing” is much less useful than a clear description tied to the identified defect.
Save the inspection report, specialist findings, written agreement, and repair documentation. The goal is a clear resolution—not a verbal promise or an assumption that someone else will handle it.
Let's Talk
An inspection finding can change both your comfort level and your financing plan. I’m Mack Humphrey, CMPS, NMLS #1110618, with Team Humphrey at First Coast Mortgage Alliance, serving Denver-area buyers from Aurora, Colorado, with our corporate office in Jacksonville, Florida.
Call (720) 771-1308 or reach out to me for a no-pressure conversation about how an inspection decision could affect your home purchase.
Talk to Mack
Have questions about your own situation? Let's run your numbers together, with no pressure and no obligation.